- Navigate to zoom.us/profile and log in using your credentials
- On the left hand side of the screen, select Settings
- Scroll down to the In Meeting (Advanced) settings; you can also utilize
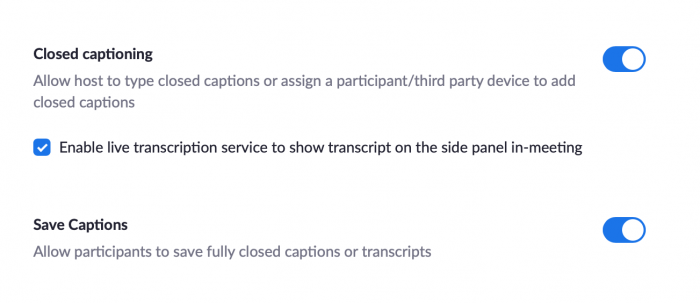
Control+F (Windows) or Command+F (Mac) and search for Closed Captioning - Select the toggle button on to enable Closed Captioning
- Directly underneath this button, you will see a checkbox to enable live transcription — you want to enable this feature for in-meeting transcription
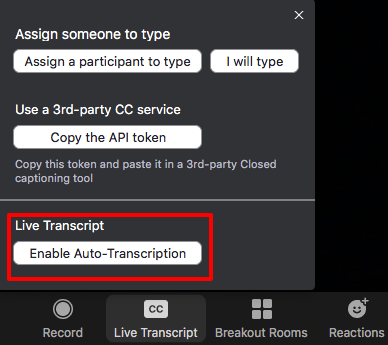
Once you are inside a Zoom meeting, you will see that you now have a new button option in your toolbar at the bottom. You may need to select the “More” ellipses (…) to see this if you are on a laptop or smaller screen. From here, you can choose “Live Transcript” and then “Enable Auto-Transcription.” Once this is selected, you will see the CC begin to activate.
Participant Settings
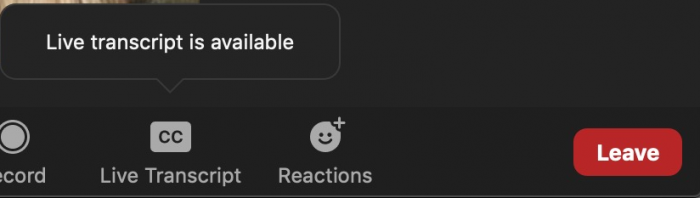
If a Host has the Live Transcription setting enabled, meeting participants are able to toggle the closed captioning on/off as desired. This will only affect each individual’s view. Please note that you will not see this button if the Host has not enabled the meeting feature.
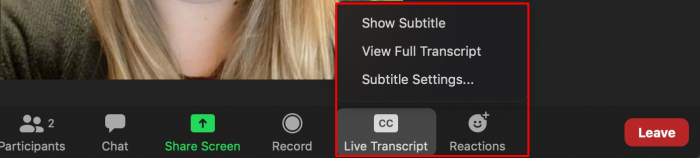
- Inside the Zoom meeting, you will see a button for Live Transcript in your toolbar
- Select the button and then click on Show Subtitle
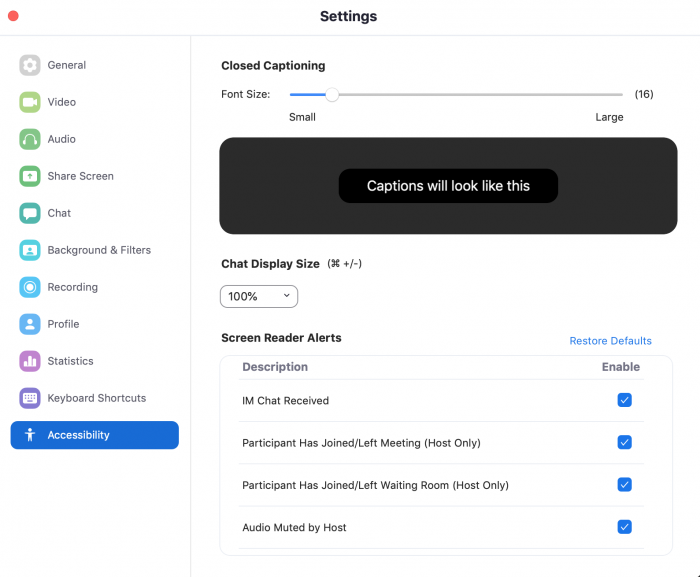
- From this menu, you can also change the appearance of the subtitles or view the full meeting transcript
- If you want to turn off the captions, simply click on the button again and select Hide Subtitles